home > tech tips > door seal replacement

Door Seal Replacement

Many thanks to the Queensland Charter and Ray Barton for providing this 'how to'. 

Thanks also to Rick Heaney for providing the following Door Trim Removal 'how to' article in PDF.


rbwf105.jpg (95713 bytes)1. Remove door trim.
Download the Remove Door Trim 'how to' PDF.

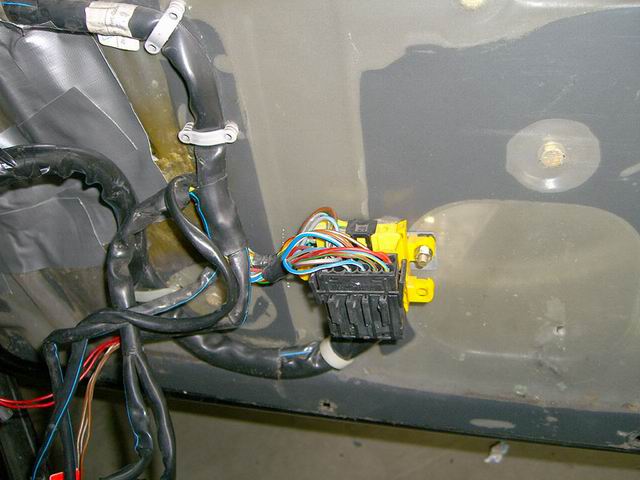
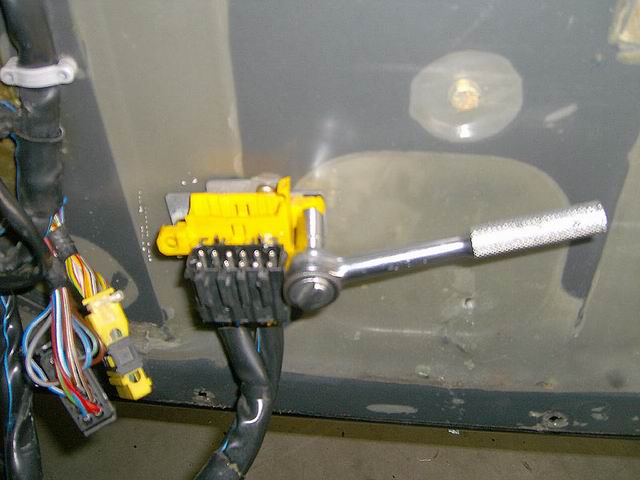
2. Remove connectors (2) for window electrics from connector plugs.


rbwf104.jpg (83820 bytes)3. Remove connector plug from door.

4. Remove cable fasteners (2) from door.


rbwf100.jpg (96031 bytes)5. Remove pin from restraining strap. (5mm allen key) You may need lubricant.


rbwf097.jpg (85122 bytes)6. Peel old seal off the door, it is glued on and you may need a blunt screwdriver to lift the adhered bits. It will tear into small bits. Clean the groove as best you can.


rbwf101.jpg (96505 bytes)7. Position new seals [928 537 346 04] to ensure correct side. Hold restraining strap back to allow seal past strap and electrical cable.

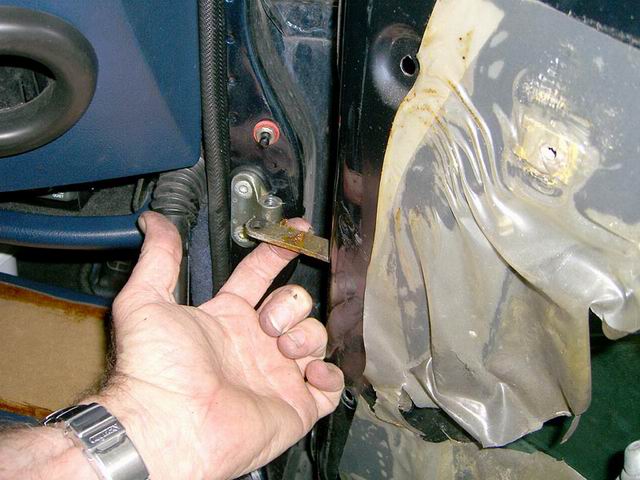
8. Replace restraining strap pin and tighten.


rbwf102.jpg (83872 bytes)
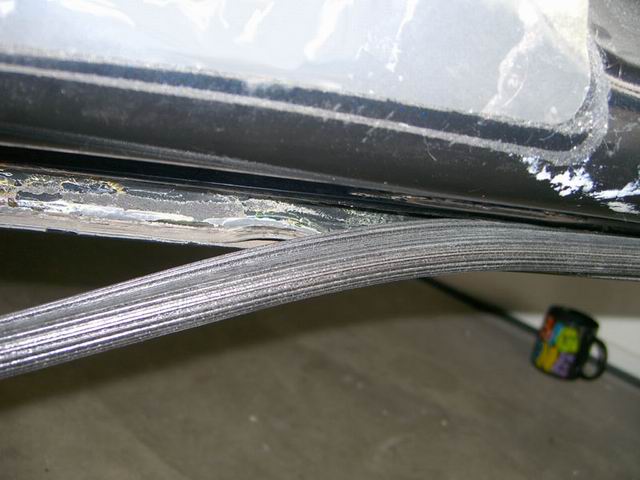
9. Fit wedge section of seal first (near mirror) then force seal into groove working up from the wedge and around. I didn't glue mine but a soft adhesive like contact adhesive would be best if you decide to glue.

10. Reattach electrical connector plugs.

11. Reattach connectors.

12. Reattach cable fasteners.

13. Reattach door trim.

Thanks to Ray Barton for photos and text. 
July 2005